Resizing and Aligning
Learn how to resize and align photos in your entries to create beautiful layouts with flexible positioning and text wrapping options
Experiment with different alignment and size combinations to create engaging layouts that enhance your storytelling. You can always change these settings later to find the perfect balance.
Accessing Photo Options
Right-click on any photo
Right-click on any photo in your story to open the photo menu.
Photo options menu appears
The photo options menu displays with alignment, size, and editing controls available.
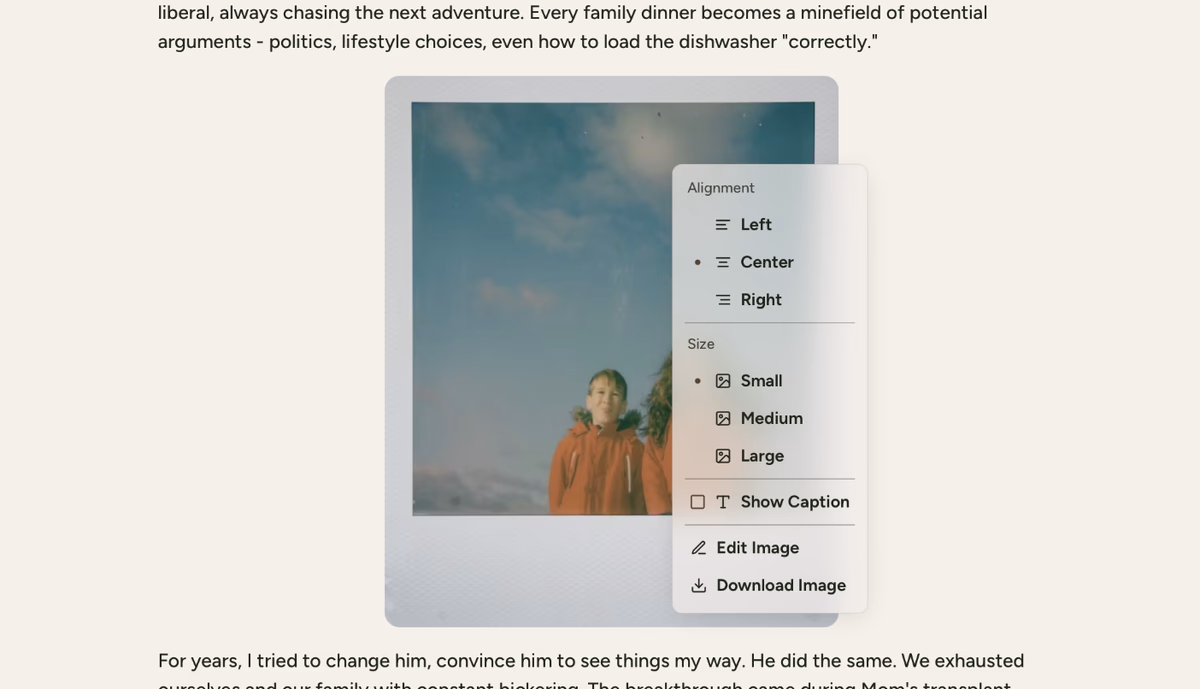
Make your selections
Choose your preferred alignment and size settings to adjust the photo's appearance.
Photo Alignment Options
Left Alignment
Positions photo on the left side of your story. Text wraps around the right side, creating a flowing layout.
Photo Size Controls
The size setting determines both the photo dimensions and how text flows around it:
Small
Compact photo size that takes up less space, perfect for creating column layouts with text.
Creating Effective Layouts
How Text Wrapping Works
When you select Small or Medium sizes with Left or Right alignment:
- Text flows naturally around the photo boundaries
- Creates column effect with photo occupying one area, text flows in remaining space
- Responsive layout adjusts based on screen size while maintaining proportions
Layout Examples
Left + Small
Creates left photo column with equal right text column for balanced two-column layout.
Best Practices for Photo Layout
Portrait photos often work well as Small or Medium with side alignment. Landscape photos might be better centred or as Large size. Multiple photos can use varied alignments for visual interest.
Short paragraphs work well with any size photo. Longer text sections benefit from smaller photo sizes to allow more text flow. Photo-heavy stories might use larger sizes with less text wrapping.
Mix left and right alignments throughout your story. Use centre alignment for important or standalone photos. Consider rhythm and how photos and text create visual flow.
Don't overcrowd content by leaving breathing room between photos and text. Consider reading flow to ensure text remains easy to follow. Test different sizes to find the best balance for each photo.
If you need more assistance with this topic please contact support at support@keepsakeproject.co.
Was this helpful?
Need more help? Contact our support team