Enhancing Photo Quality
Learn how to use Keepsake's AI-powered photo enhancement to improve resolution and quality of older or low-resolution photos for better printing
Photo enhancement is completely free with your subscription. Enhance unlimited photos to ensure your printed book looks its best.
How to Enhance Photos
Open Photo Gallery
Click the photo gallery icon in your entry
![]()
Find Quality Indicators
Look for photos marked Poor or Okay Quality, these benefit most from image enhancing
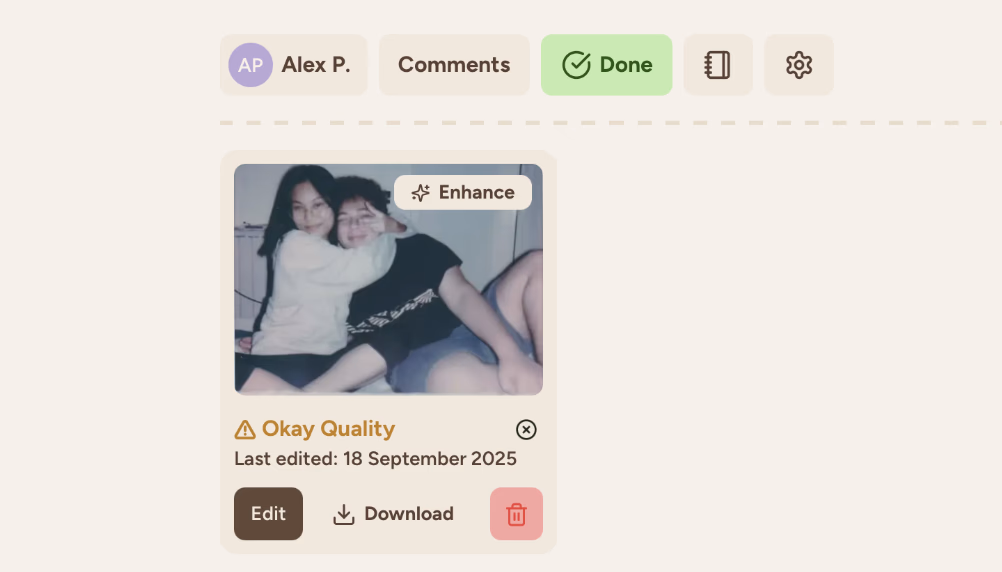
Click Enhance
Select the Enhance button on any photo needing improvement
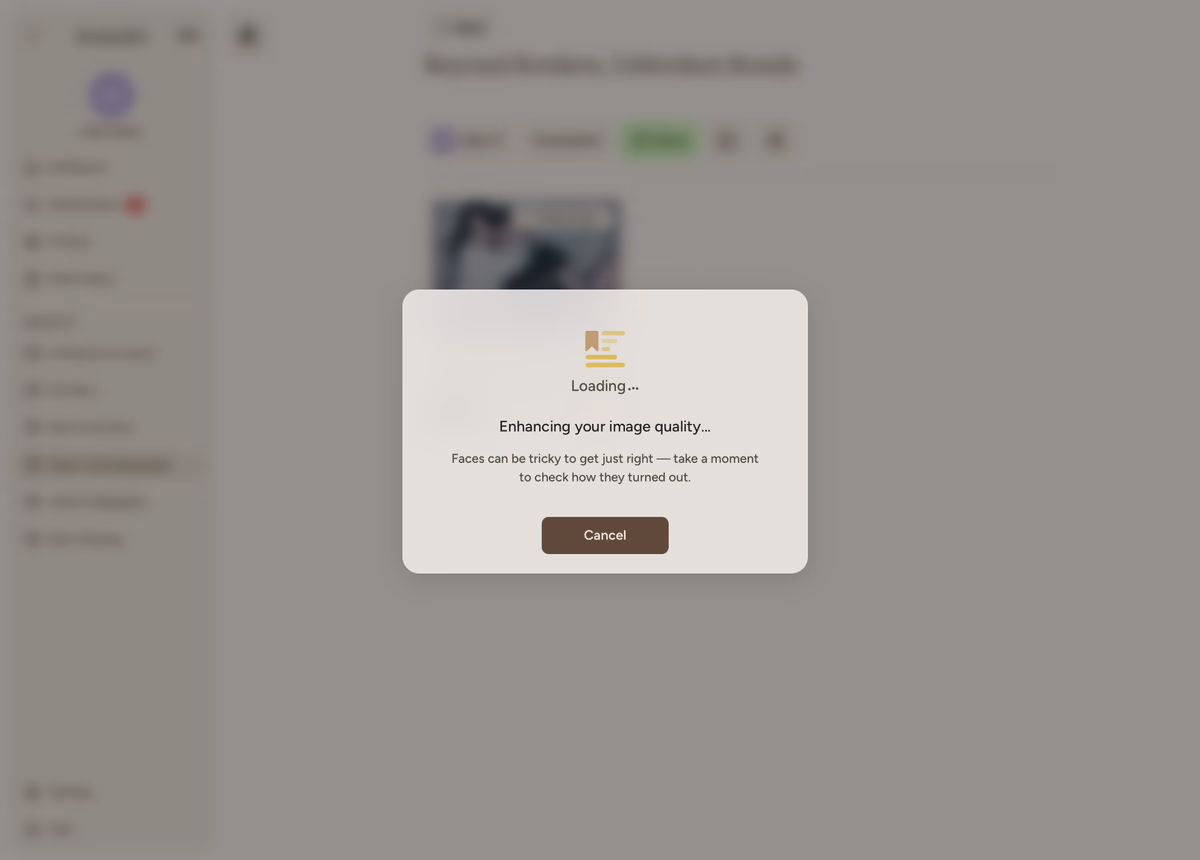
The Enhancement Process
Processing begins
Enhancement starts automatically after clicking. Processing usually takes just a few moments, with larger images taking slightly longer.
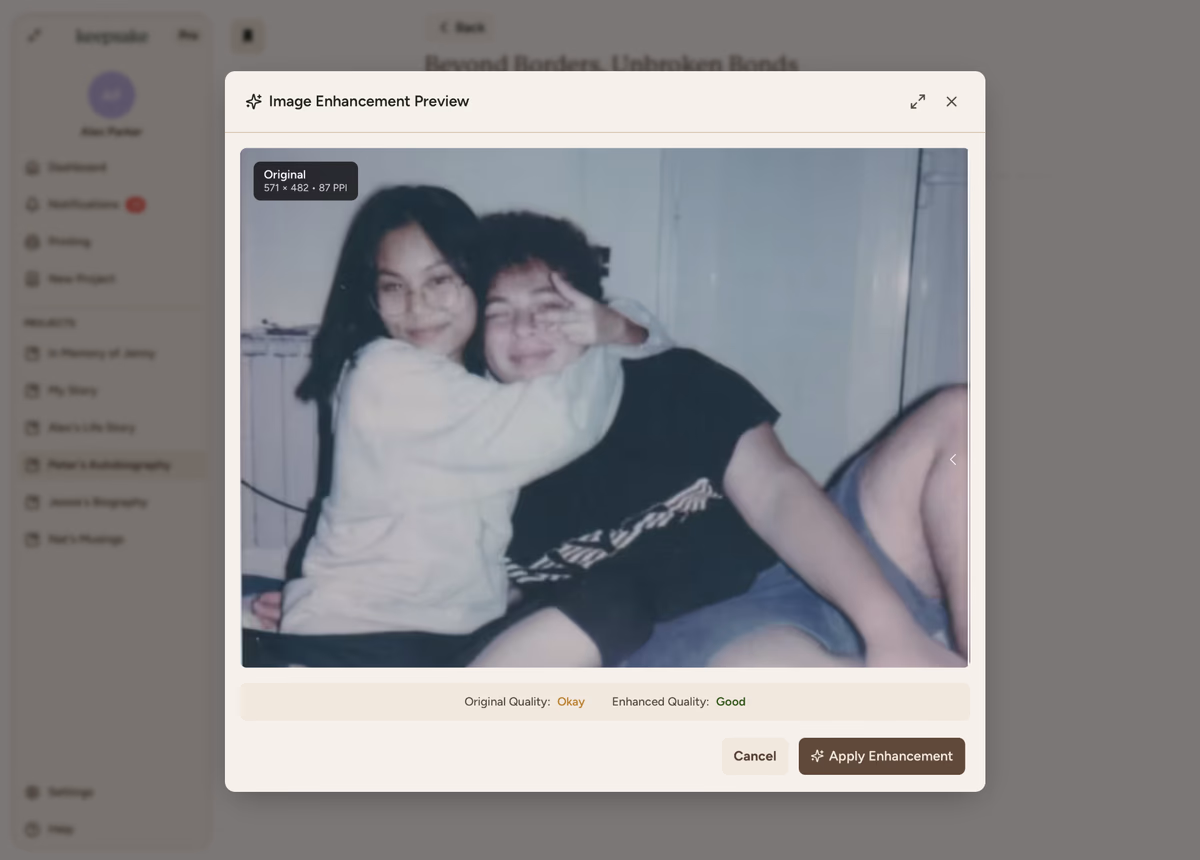
Review the preview
A side-by-side comparison appears showing your original photo on the left and the enhanced version on the right.
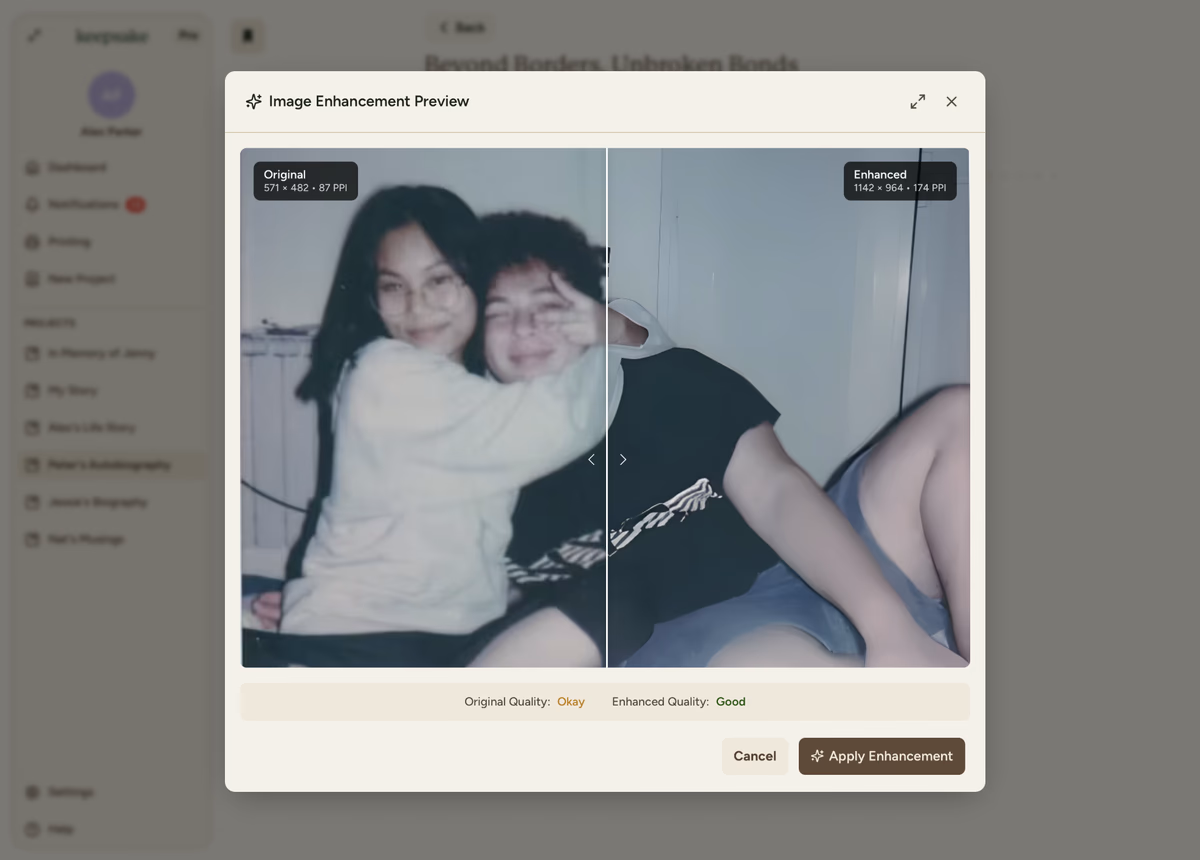
Use the comparison slider
Drag the slider between the images to clearly see the differences. This helps you evaluate if the enhancement improves your photo.
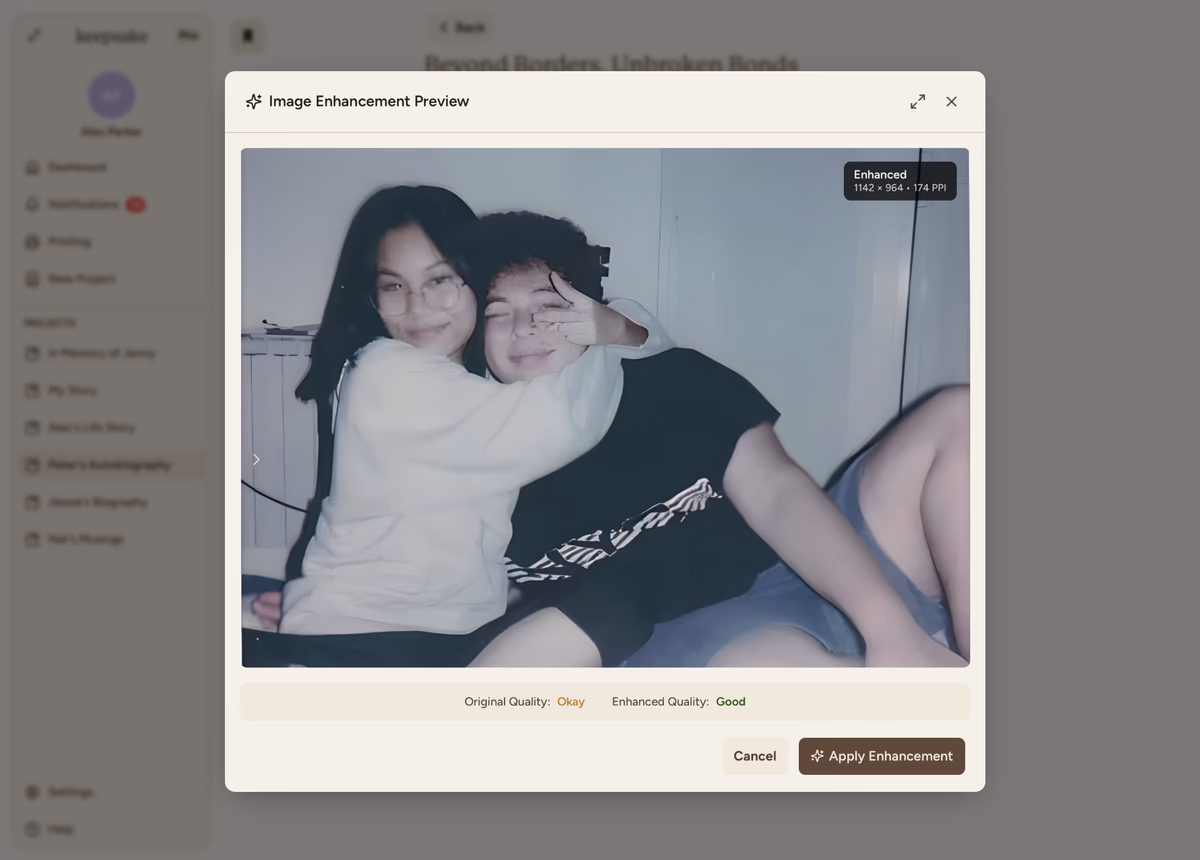
Check full-size preview
Click the expand icon for a detailed comparison at 100% zoom level where differences are most visible.

Make your decision
Choose Apply Enhancements to use the improved version, or Cancel to keep the original. Your original photo is always preserved.
What Enhancement Does
Technical Enhancements
Resolution Increase
Typically doubles pixel dimensions for sharper prints
Clarity Boost
Sharpens details and reduces blur naturally
Print Optimisation
Ensures photos look crisp at book printing resolution
Smart Upscaling
AI intelligently adds detail rather than just stretching pixels
Quality Indicators Explained
Excellent
Green Indicator
- High resolution
- Perfect for printing
- No enhancement needed
Okay
Yellow Indicator
- Medium resolution
- Will print acceptably
- Enhancement recommended
Poor
Red Indicator
- Low resolution
- May look pixelated in print
- Enhancement strongly advised
Tips for Best Results
Start with Best Original
If you have multiple versions of a photo, enhance the highest quality one
Check Full Size
Always review at 100% zoom to see true enhancement quality
Trust Your Eyes
If it doesn't look better, don't apply it. Not every photo improves
Focus on Prints
Prioritise enhancing photos that will be prominently featured
Check faces especially - AI enhancement can sometimes make faces look unnatural or overly smooth. Use the comparison slider to ensure people still look like themselves.
Enhancement Workflow
Review Photo Quality
Check gallery for quality indicators on all photos
Prioritise Poor Quality
Start with photos marked "Poor" - they need it most
Enhance Systematically
Work through photos one by one, reviewing each result
Apply Selectively
Only keep enhancements that genuinely improve the image
Final Review
Before printing, ensure all photos meet quality standards
Troubleshooting
Not every photo benefits from enhancement. Trust your eyes and cancel if the original looks better.
This can happen with older portrait photos. Use the comparison slider to check carefully before applying. The original might be better for portraits.
Large images take longer to process. Check your internet connection and wait up to 30 seconds for very large files.
Click the expand icon for full-size comparison. Differences are most visible at 100% zoom level.
Try again with a smaller version of the image. Some very large or unusual file formats may need conversion first.
If you need more assistance with this topic please contact support at support@keepsakeproject.co.
Was this helpful?
Need more help? Contact our support team