Using the Built-in Photo Editor
Access professional photo editing tools within Keepsake to crop, adjust, filter, and annotate your images before adding them to your printed book
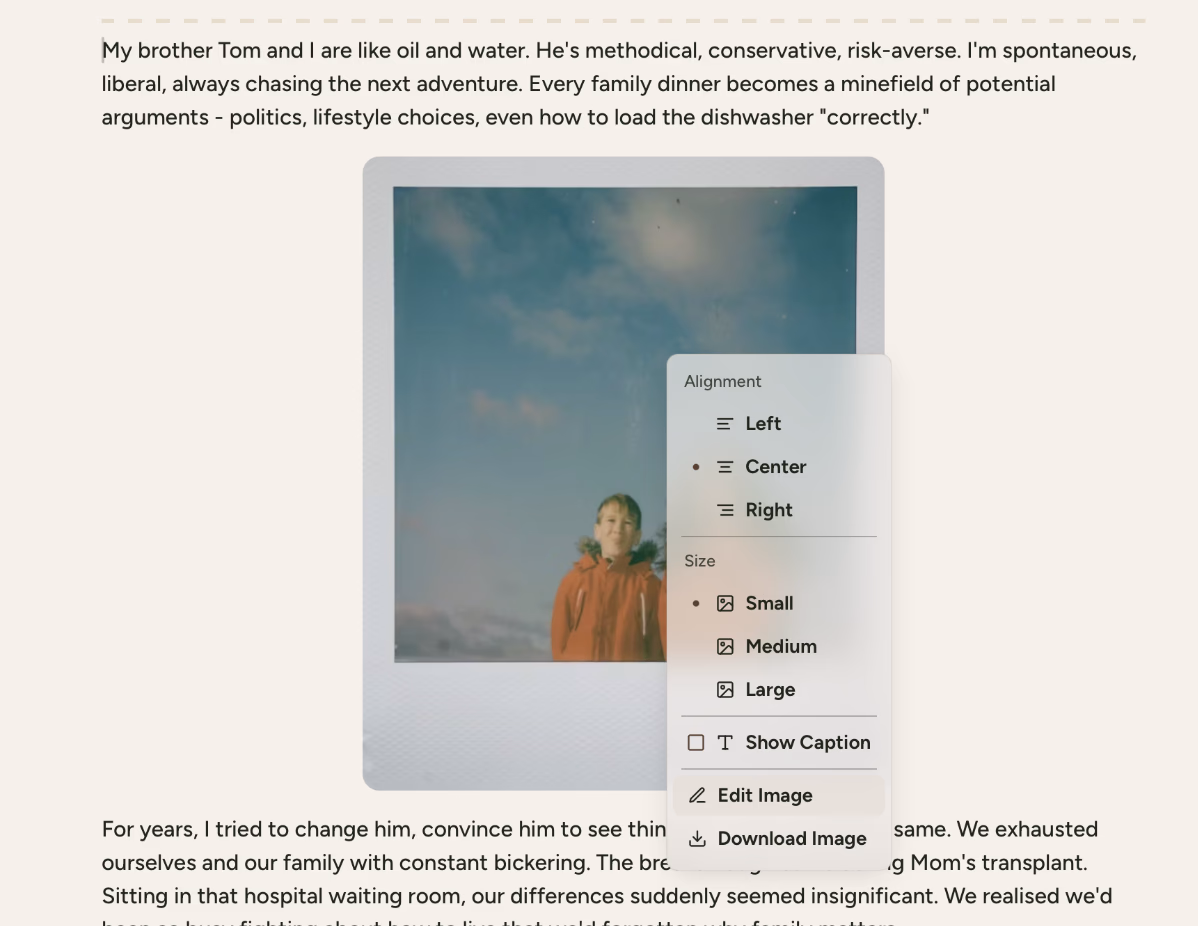
Right-click any photo and select "Edit Image" to access the editor instantly. Your original photos are always preserved.
How to Access the Editor
Right-click on any photo in your story
The context menu will appear with editing options
Select 'Edit Image' from the menu
The editor interface opens with your photo ready to edit
Editing Tools
Quick transforms:
- Rotate Left 90° counter-clockwise rotation
- Flip Horizontal Mirror your photo
Crop controls:
- Drag corner handles to adjust crop area
- Use rotation slider for precise angle adjustments
- Scale control to zoom in or out for better framing
Editing Workflow
Making Adjustments
Start with cropping
Frame your photo properly if needed before making other adjustments
Apply filters
Set the overall mood and style to establish the photo's aesthetic
Fine-tune individual settings
Adjust brightness and contrast for proper lighting throughout the image
Add annotations last
Include text or drawings to avoid interfering with other adjustments
Zoom Controls
- Zoom Slider at top of interface lets you zoom in for detailed work
- Percentage Display shows current zoom level
Saving Your Work
- Changes auto-apply as you make them
- Click Done to return to your story with edits applied
- Original photo preserved - you can always revert changes later
Troubleshooting
Check your zoom level and preview at 100% for accurate representation. Consider how photos will appear in print versus on screen.
Use contrasting colours and increase line width. Consider the final print size when adding small details.
Make subtle adjustments rather than extreme changes. Start with small increments (±10-20%) for natural results.
Click Done to save your edits. Changes auto-apply as you make them, but you need to save to see them in your story.
If you need more assistance with this topic please contact support at support@keepsakeproject.co.
Was this helpful?
Need more help? Contact our support team