Deleting Photos Permanently
Learn how to permanently delete photos from your Keepsake entries
This action cannot be undone. Once you permanently delete a photo from Keepsake, it cannot be recovered. Always ensure you have a backup saved on your computer before deleting.
Permanently Deleting Photos
Open the photo gallery
Click the Gallery icon from the entry to access the full photo gallery
Find the photo to delete
Locate the image you want to permanently remove from Keepsake

Click the delete button
Click Delete (red trash can icon) on the photo you want to delete
Confirm deletion
Confirm that you want to permanently delete this photo. Remember, this cannot be undone.

Check deletion
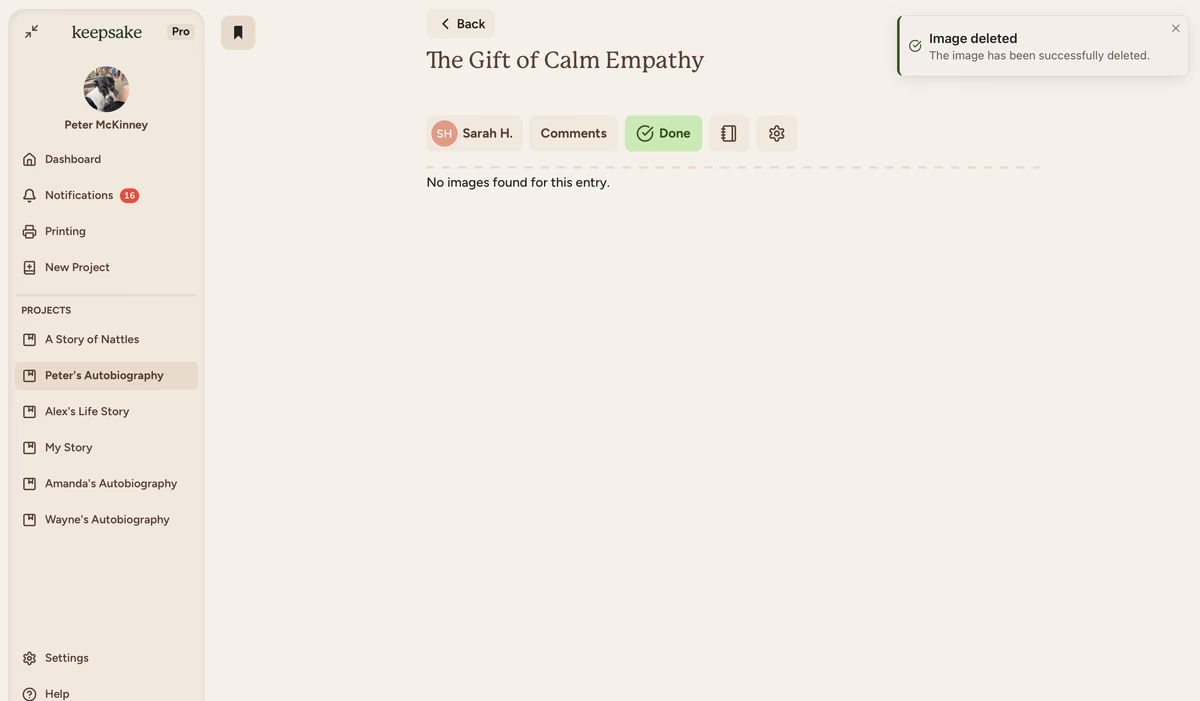
The image will be removed permanently from your image gallery for that entry.
Before You Delete
Save a Backup
Download the photo to your computer first by right-clicking and saving
Consider Removing Instead
If you just want to hide it from the entry, remove it from the editor instead
Understanding Deletion Options
Removing a photo from the editor keeps it in your gallery for later use. Deleting permanently removes it from Keepsake entirely.
No. Once permanently deleted, Keepsake cannot recover the photo. You'll need to re-upload it if you have a copy saved elsewhere.
You might delete photos to free up space, remove duplicates, or clear out images you no longer want in your project.
If you need more assistance with this topic please contact support at support@keepsakeproject.co.
Was this helpful?
Need more help? Contact our support team